Minecraft: How to Transform Your Minecraft Bedrock World into Java
2024-10-30 09:02:01Source:40407Author:40407
If you want to bring your Minecraft Bedrock world into the Java Edition to enjoy its extensive mods, shaders, and textures, you're in luck! Converting a Bedrock world to Java is now simple, thanks to a few steps that allow you to keep your beloved world without starting from scratch. Here’s a complete guide to get you started.
Steps to Convert a Minecraft Bedrock World to Java Edition
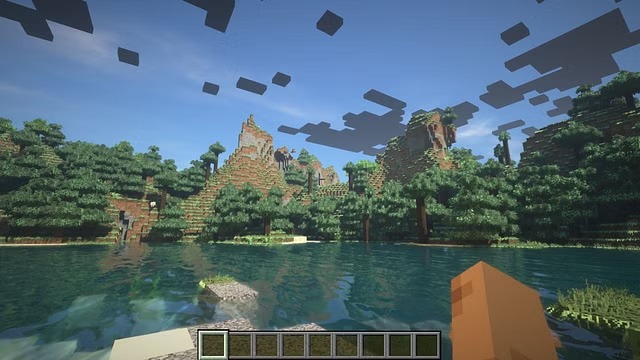
With the help of Chunker, a world conversion tool created by Hive Games for Minecraft, you can convert Bedrock worlds to Java and even add some custom touches if you like. Before starting, you’ll need to save a copy of your Bedrock world.
Prepare and Export Your Bedrock World
- Open Minecraft and click on Play.
- Choose the world you want to convert and click the edit icon.
- Scroll down to the Export World option, select it, and save the file in your desired location.
Once you have your Bedrock world saved, follow these steps to convert it using Chunker.
1) Open Chunker
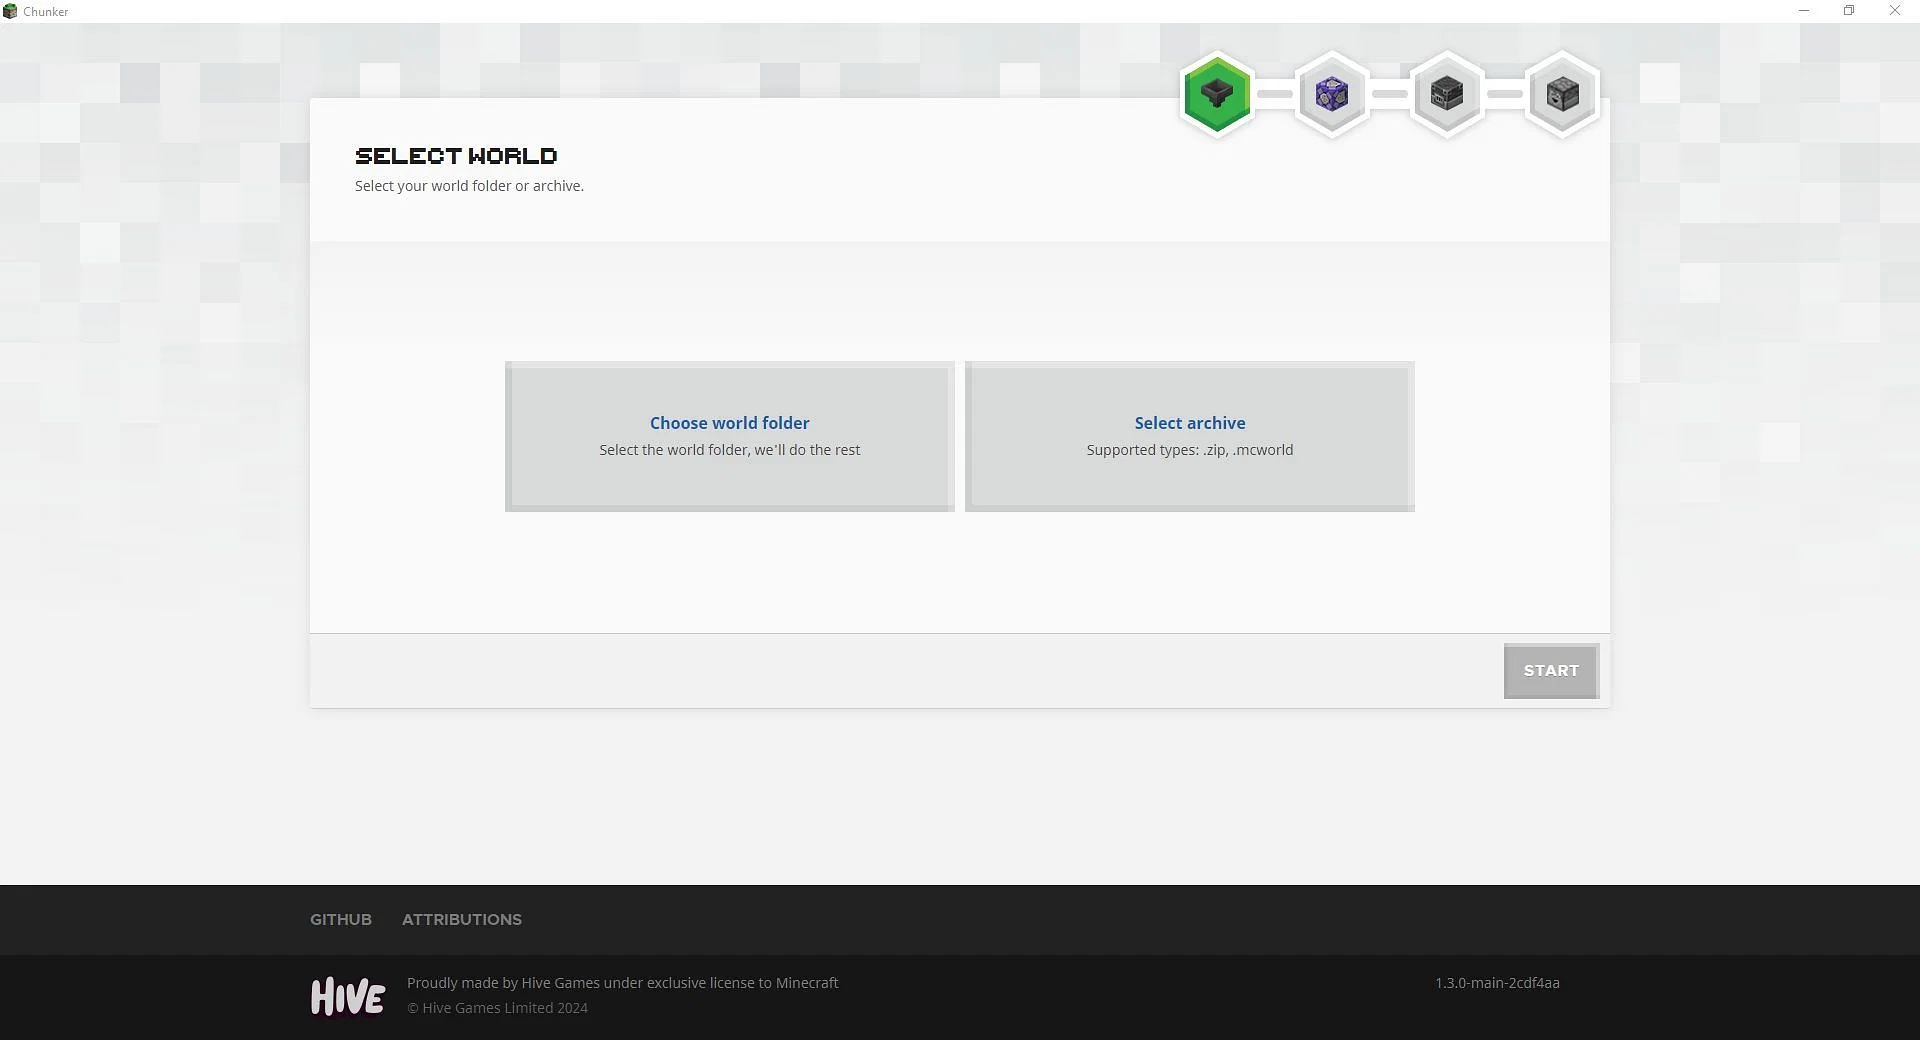
Download and launch Chunker. You can choose to upload an entire folder of saved files or a specific .mcworld or ZIP file. For this guide, select the Bedrock world file you saved earlier.
2) Upload the World File
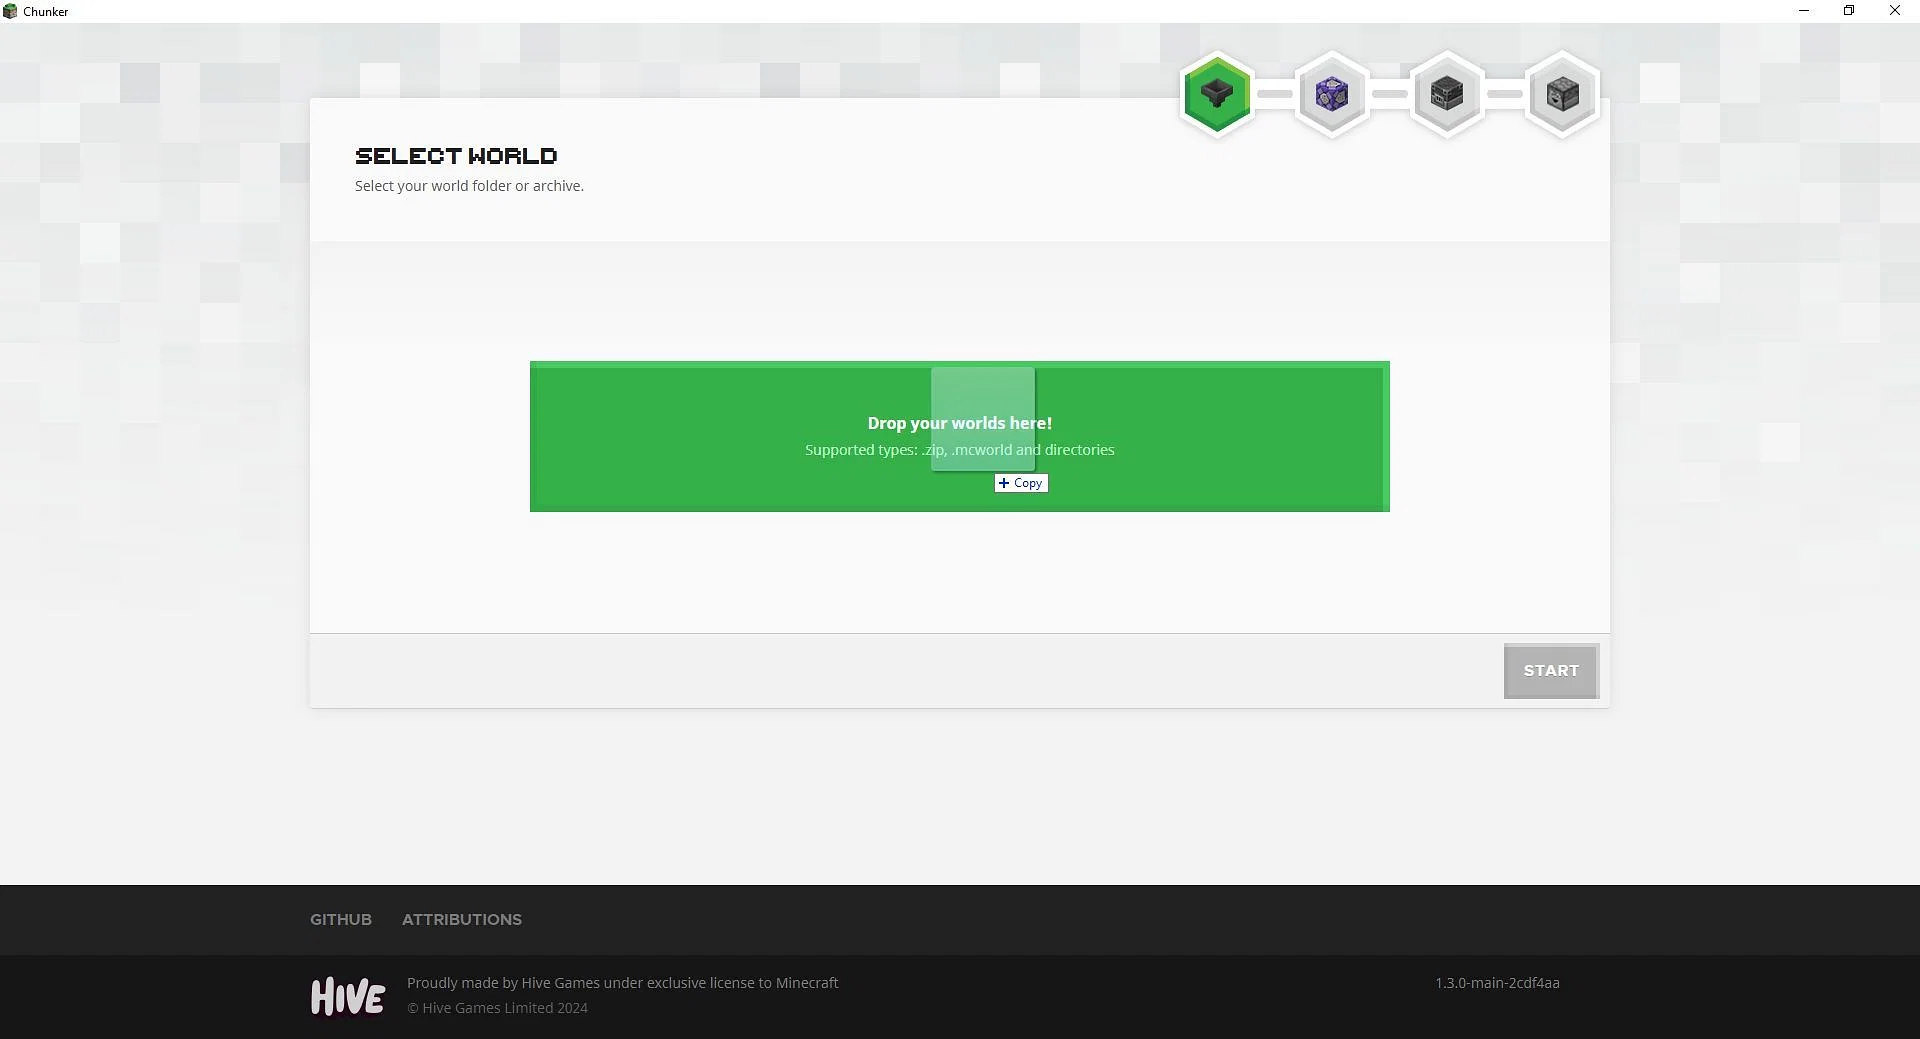
Open the folder where you stored your Bedrock world file. Drag the .mcworld file into Chunker’s upload area, and once it’s loaded, click Start to begin the conversion process.
3) Select the Version for Conversion
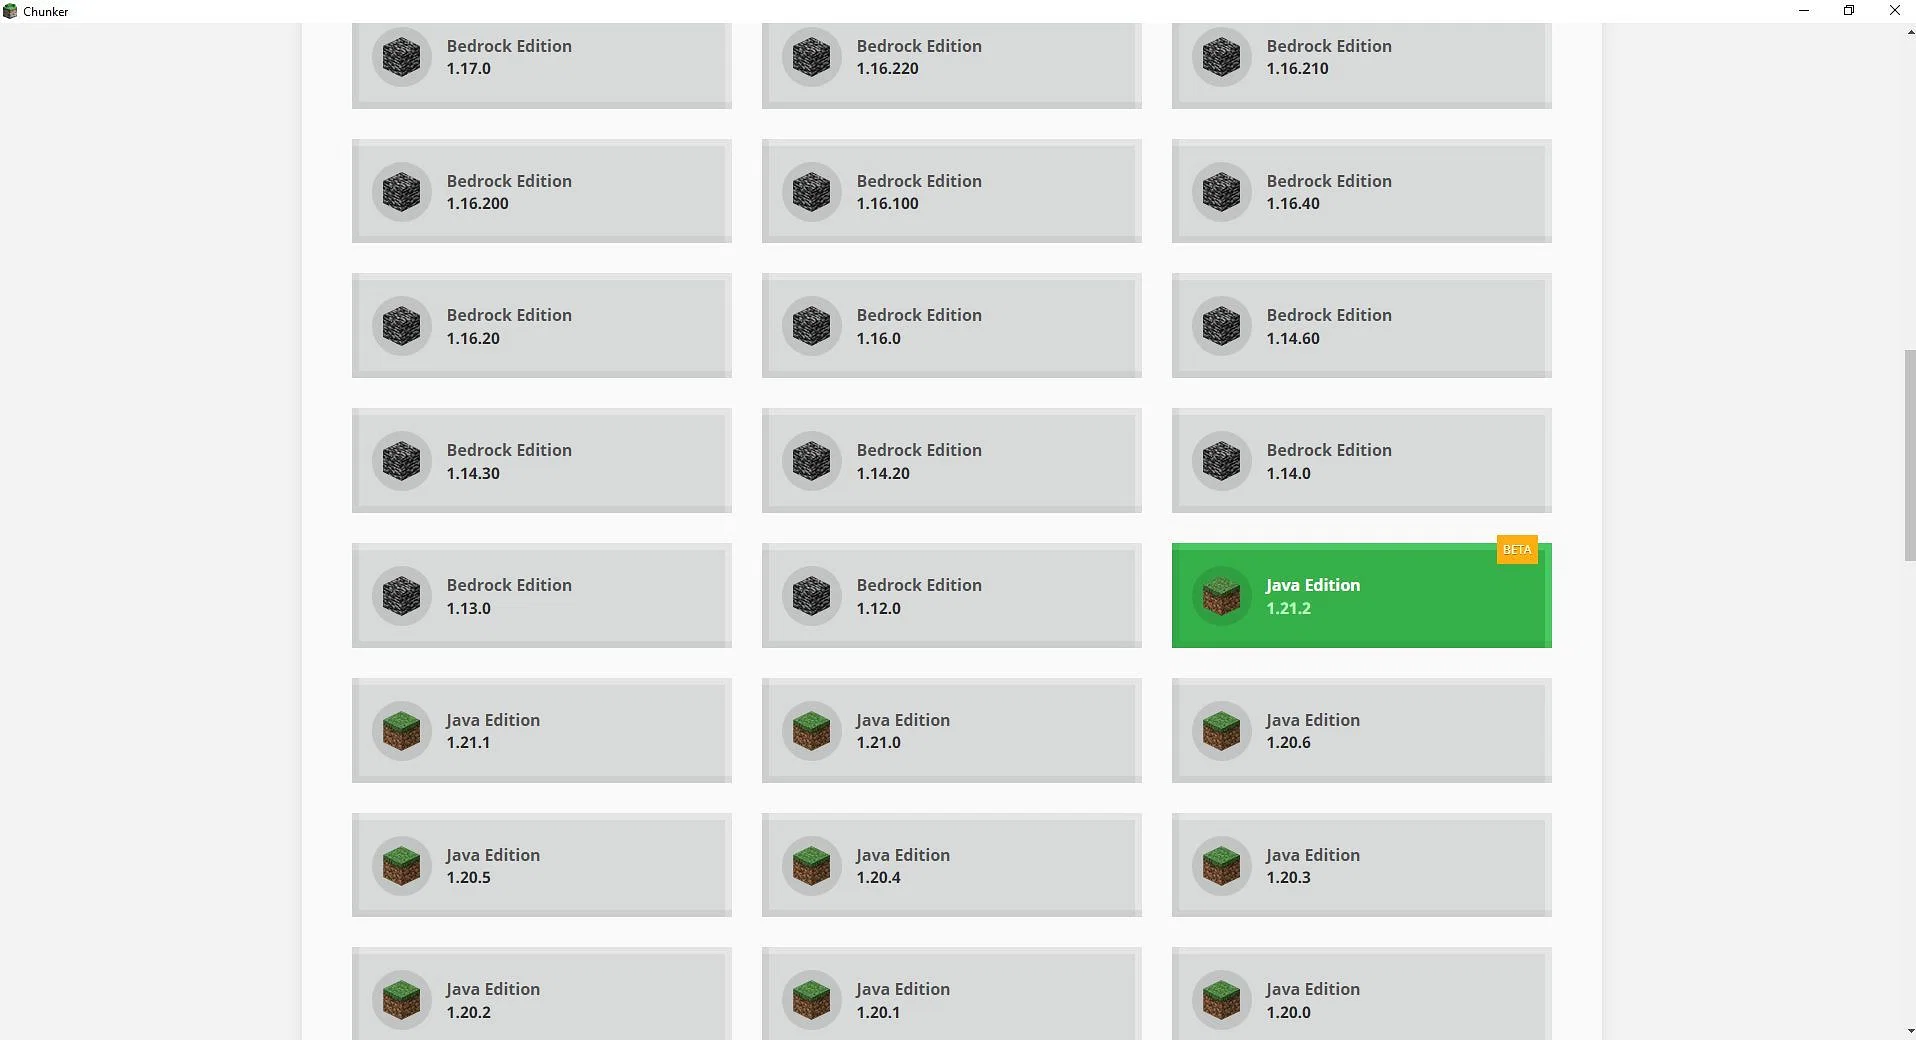
Choose the Minecraft Java version you wish to convert to. For best results, select the same version across both editions to maintain the world’s original features and data.
4) Customize Your Conversion (Optional)
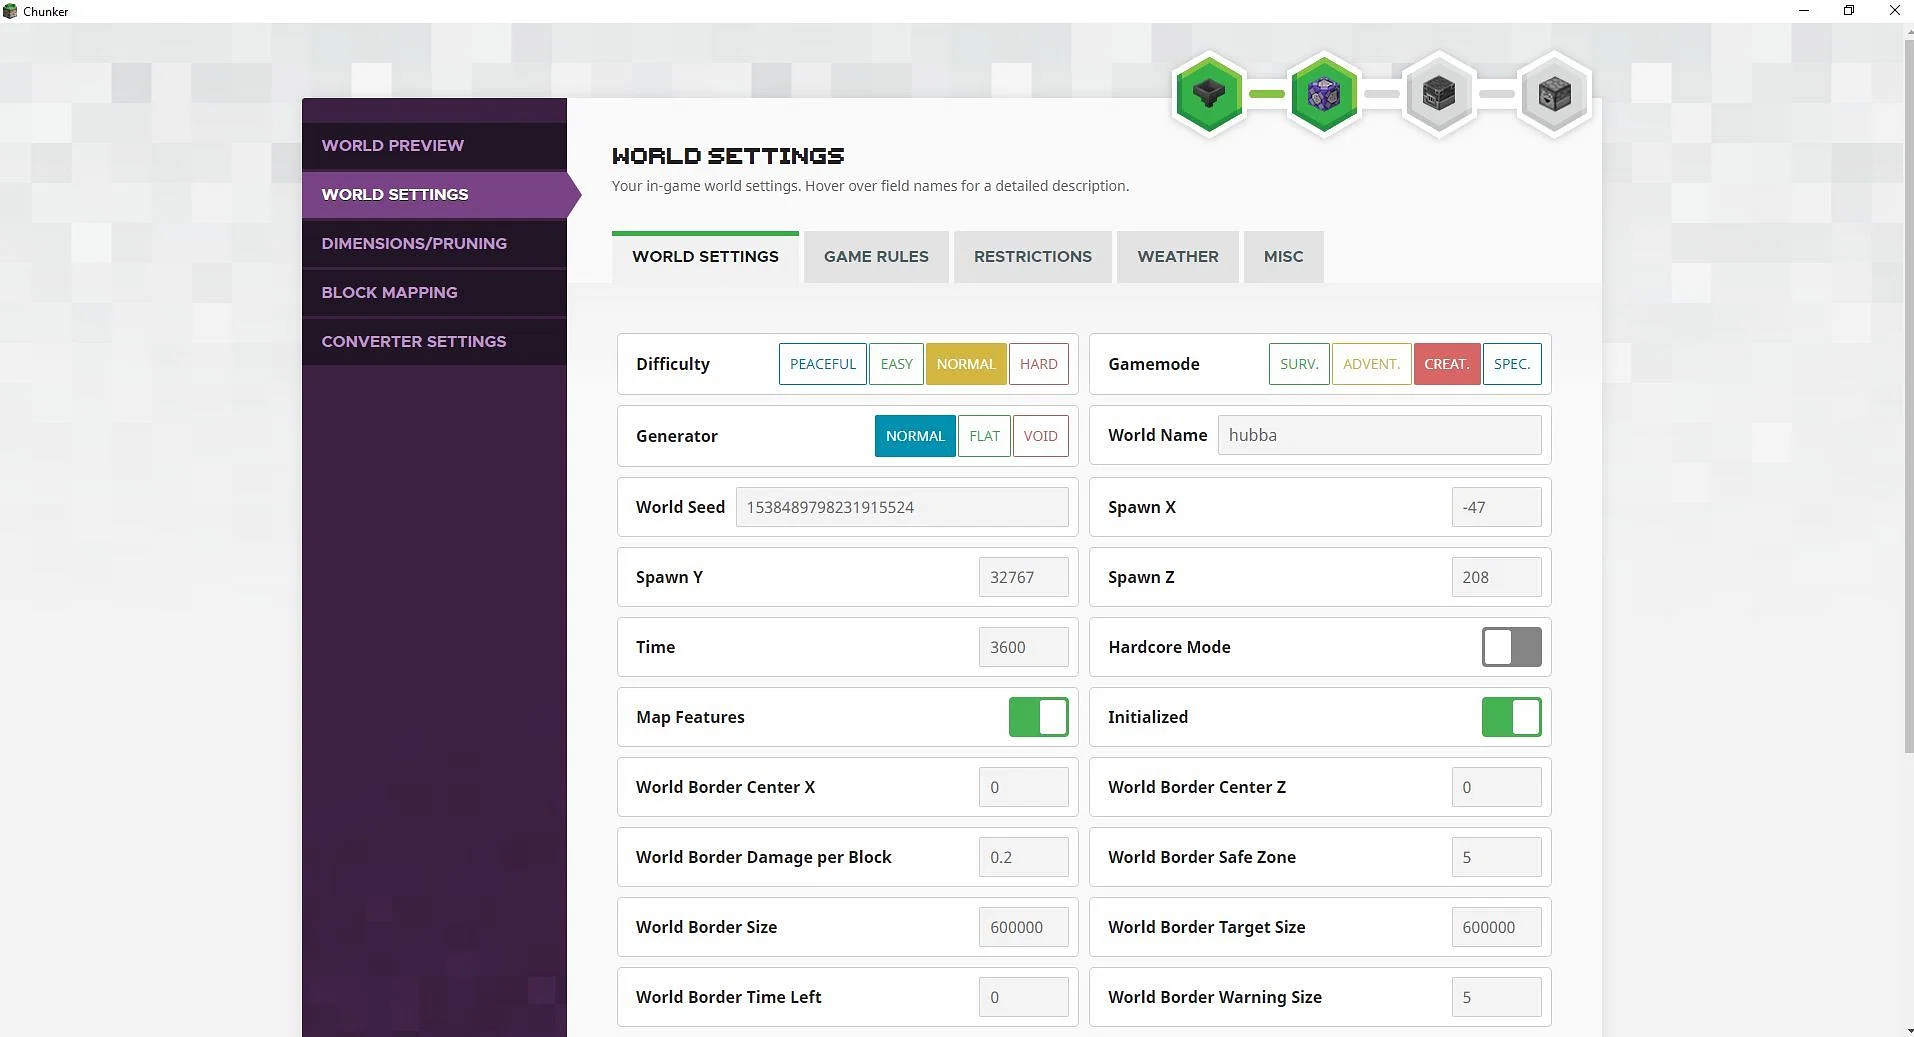
If you’d like to make tweaks, such as changing the game mode, difficulty, or spawn location, head to the Advanced Options section. Adjust the settings as desired, or skip this step if you want a straightforward conversion.
5) Save the Converted File
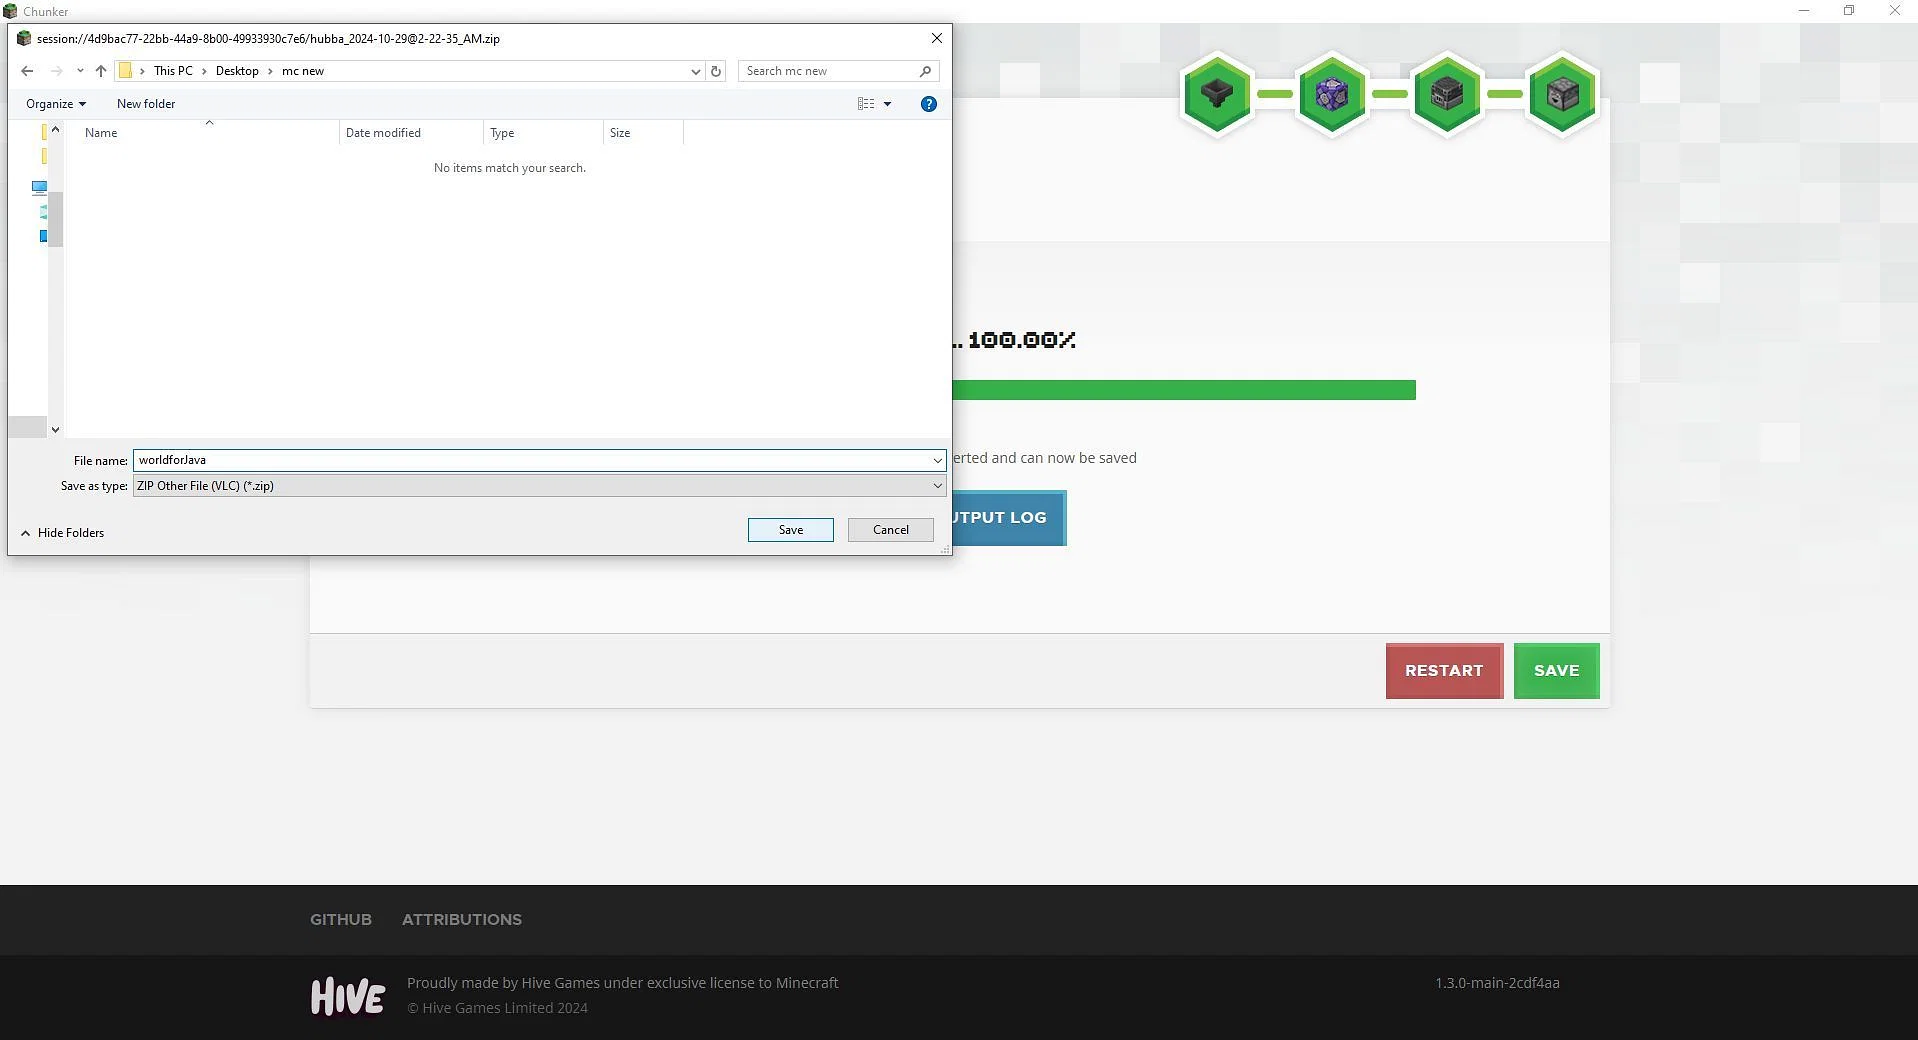
Once your world is converted, click the Save button. Name the ZIP file and save it in a location you can easily find. If you want to make changes, you can restart the process before saving.
Running Your Converted Bedrock World in Java Edition
After converting your Bedrock world, follow these steps to load it in Minecraft Java Edition.
1) Unzip the Converted File
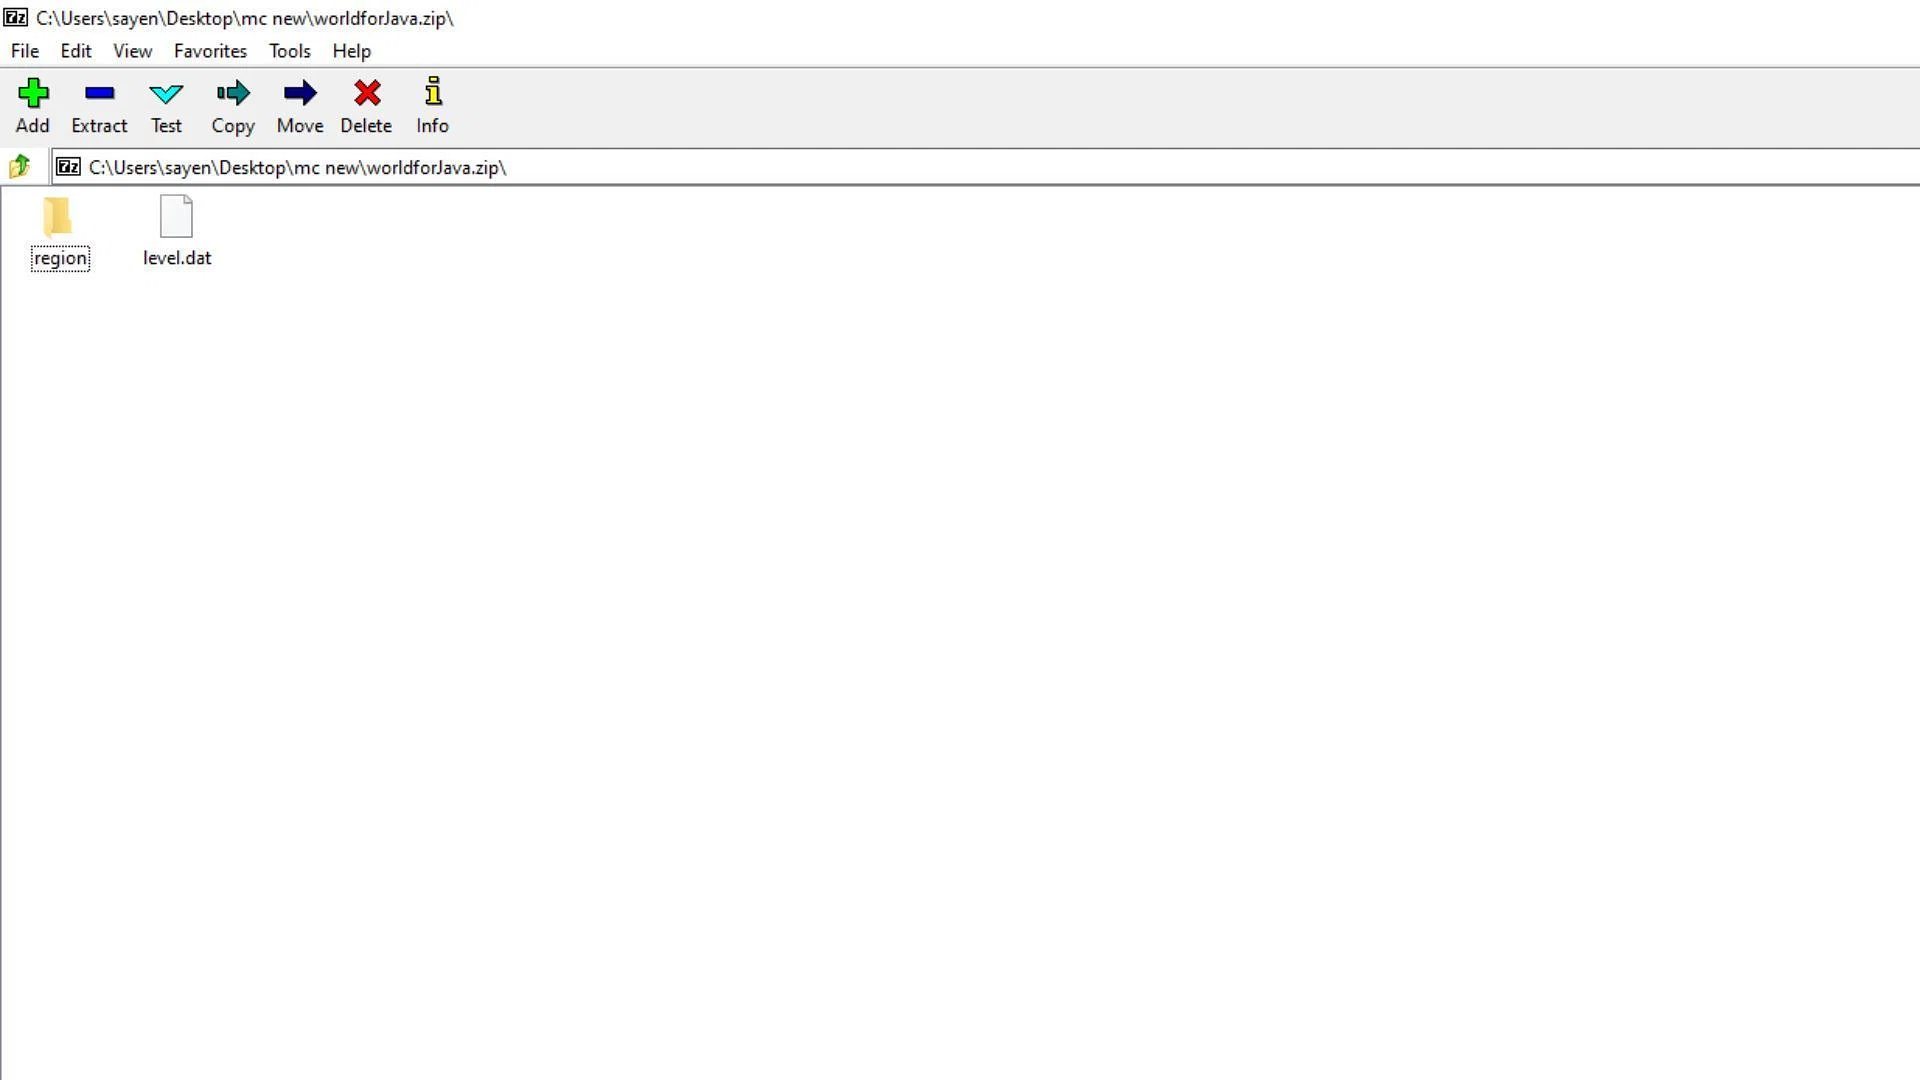
First, unzip the saved file. Move all extracted contents into a new folder and give it a name matching your world.
2) Find the Minecraft Saves Folder
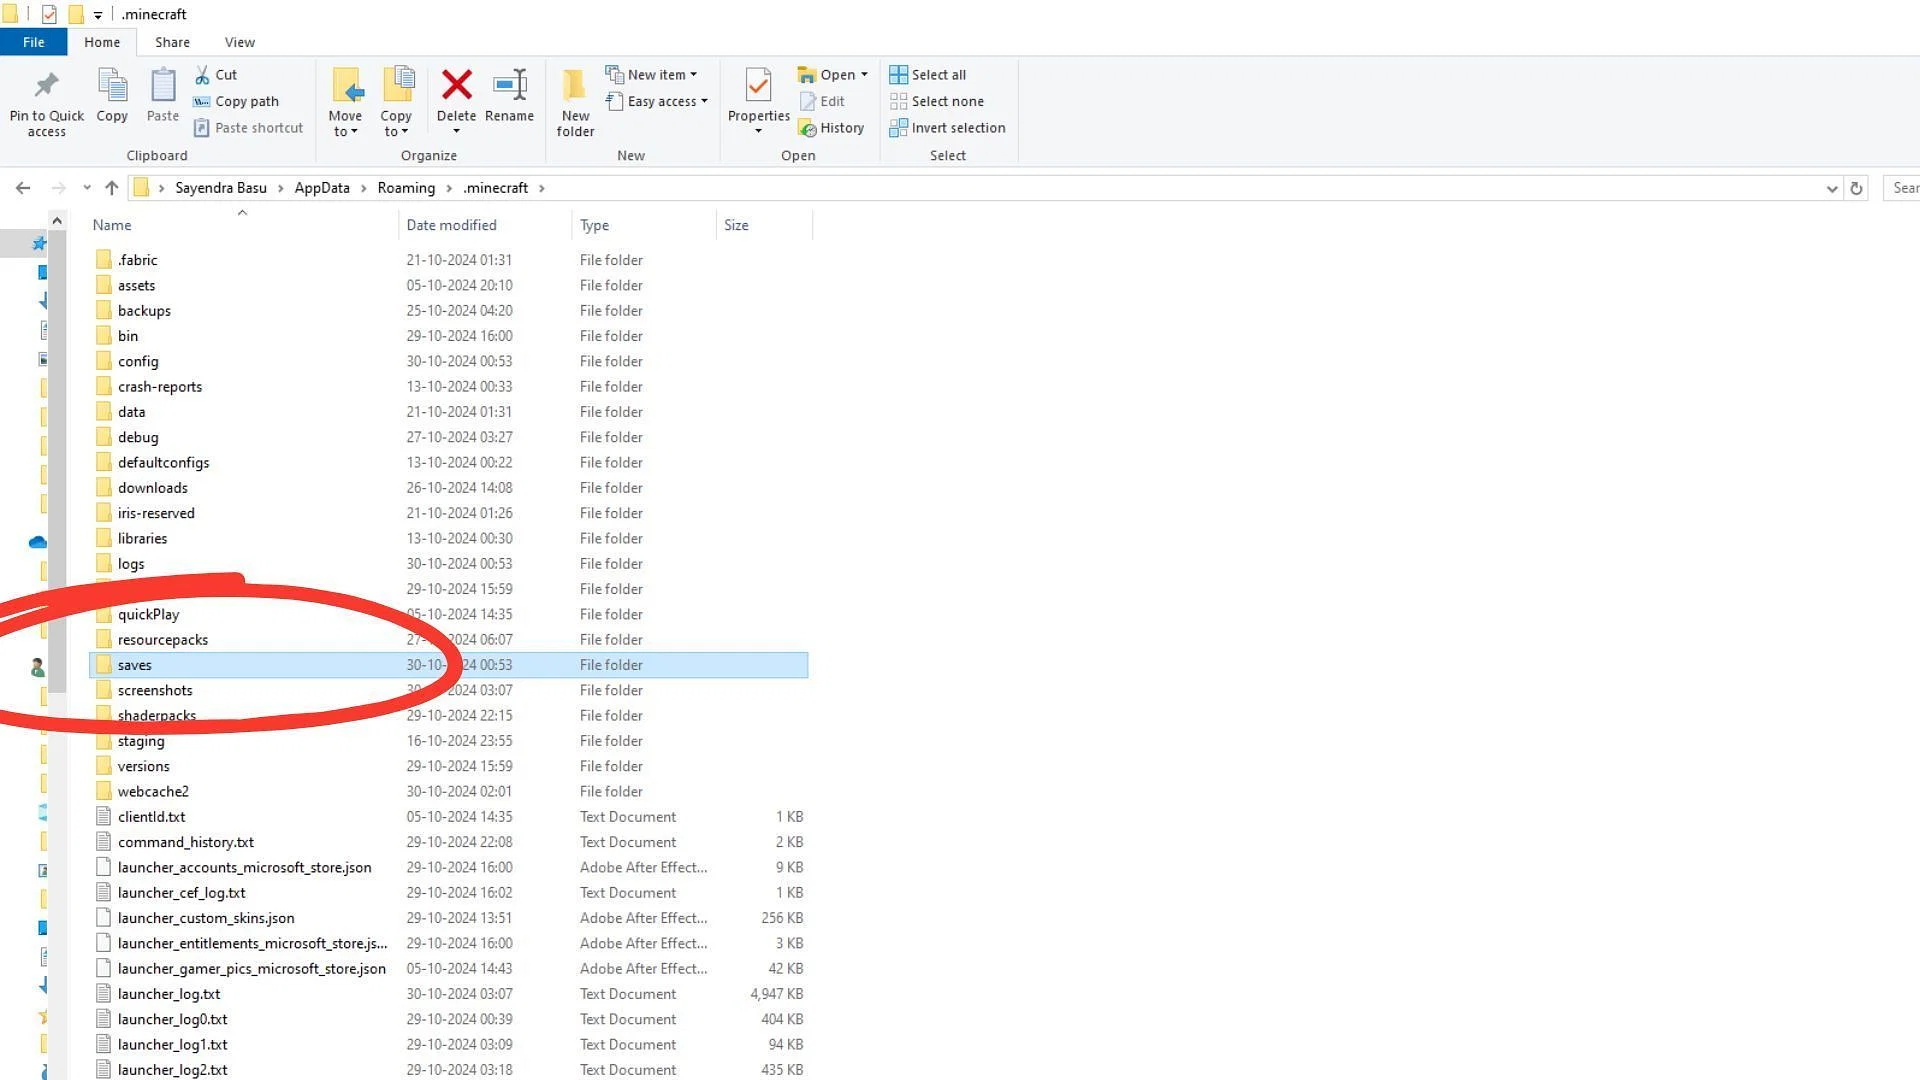
Open the Minecraft launcher, select Java Edition, and go to the Installations tab. Hover over your desired game instance and click the folder icon next to Play to open the saves location.
3) Place the Folder in the Saves Directory
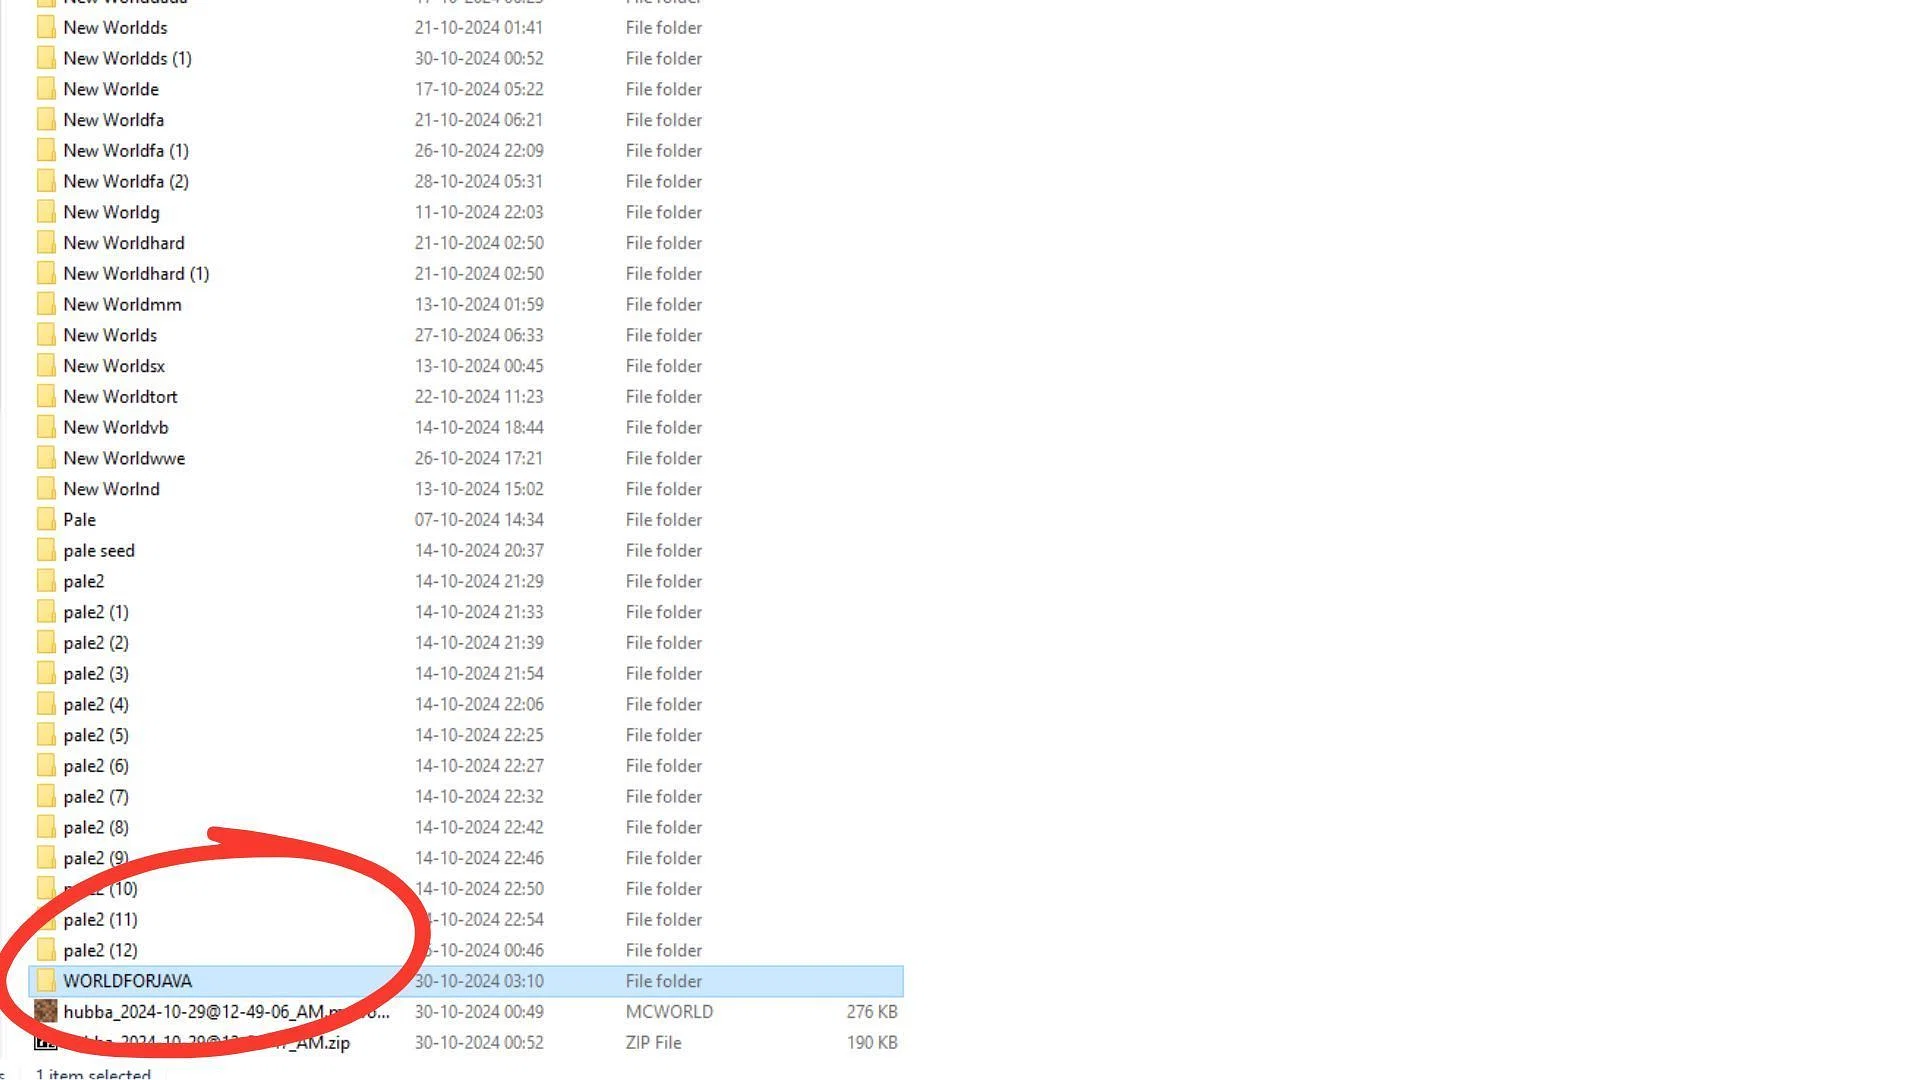
Drag the unzipped world folder into the saves folder in the opened directory.
4) Launch the World in Java Edition
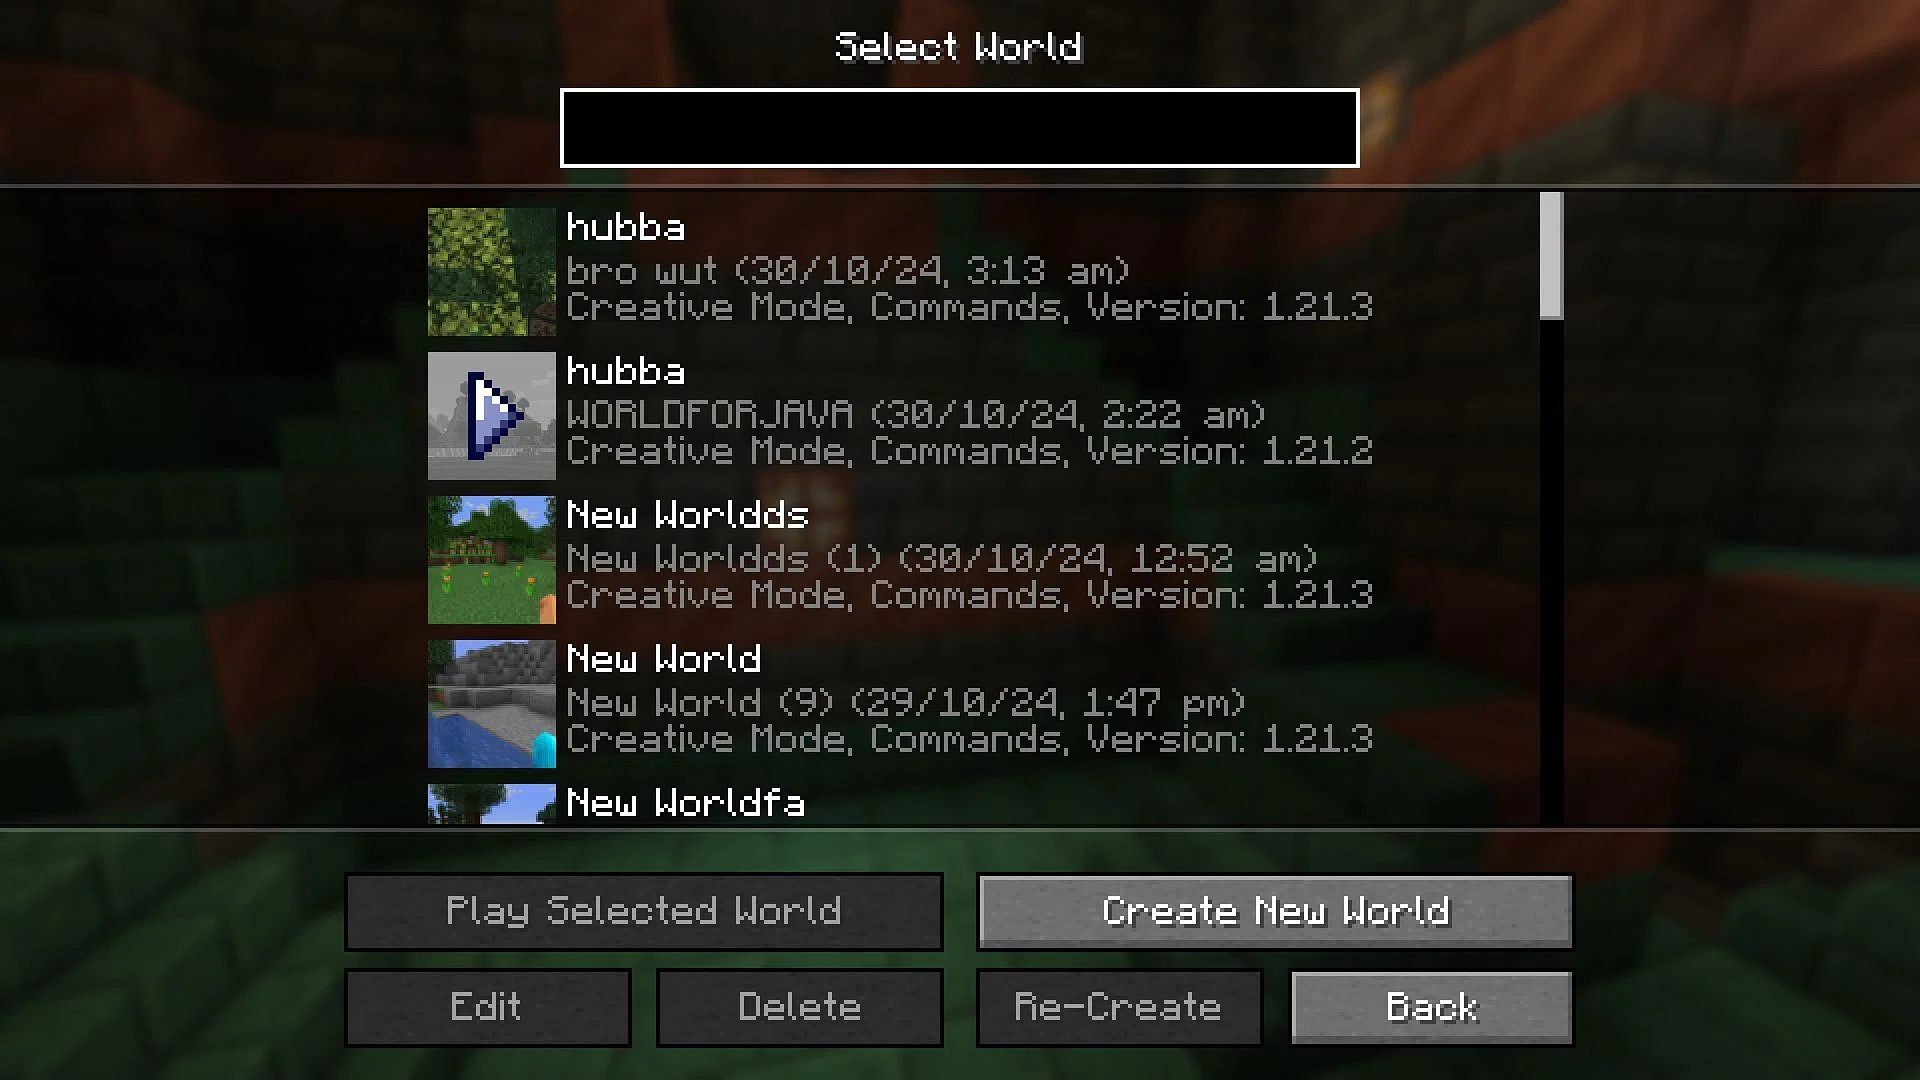
Open Minecraft Java Edition, select Singleplayer, and locate your converted world. Click to open it, and you’re ready to play!
With these simple steps, you can now convert and enjoy your Minecraft Bedrock worlds in Java Edition, allowing for endless customization and the seamless continuation of your adventures. Enjoy the best of both Minecraft versions effortlessly!
Related Articles
-
Minecraft to Drop VR Support in 2025
2024-10-28
-
Minecraft Unveils Swift 1.21.3 Update to Resolve Salmon Issues
2024-10-24
-
Minecraft Java 1.21.2: Bundles of Bravery Update Patch Notes
2024-10-23
-
Minecraft 1.21.2 Pre-Release 3 Patch Notes: More Bug Fixes Arrive
2024-10-15
-

Unleash Your Imagination – Create Stunning Emojis with AI Emoji
2025-11-11
-

Welcome to the Future of Mobile Casino Games: AI Meets the Best Casino Experience!
2025-08-29
-

NTR Knight Gameplay & Guide Videos
2025-08-27
-

Lustworth Academy Gameplay & Guide Videos
2025-08-27
-

Jikage Rising Guide & Gameplay Videos
2025-08-26
-

Attack on Survey Corps Walkthrough & Gameplay Videos
2025-08-26


